
Christmas has come and gone. Everything has been packed up and stored for another year. Before we move on to the next big thing, I thought I'd post the rest of the Christmas photos. There was no party this year, but we had some of my children's friends over at different times, accompanied by their parents, who are our friends. I enjoy the Christmas decorating, even though it is a ton of work, and I'm hoping that down the road my children will have good memories of the beauty and joy of the season. And maybe even of their mother, haha! I know they appreciate our efforts as they get older, and I think they even enjoy being with us. We, of course, love having them home, and I always get sad when they have to leave. So one last glimpse of Christmas!

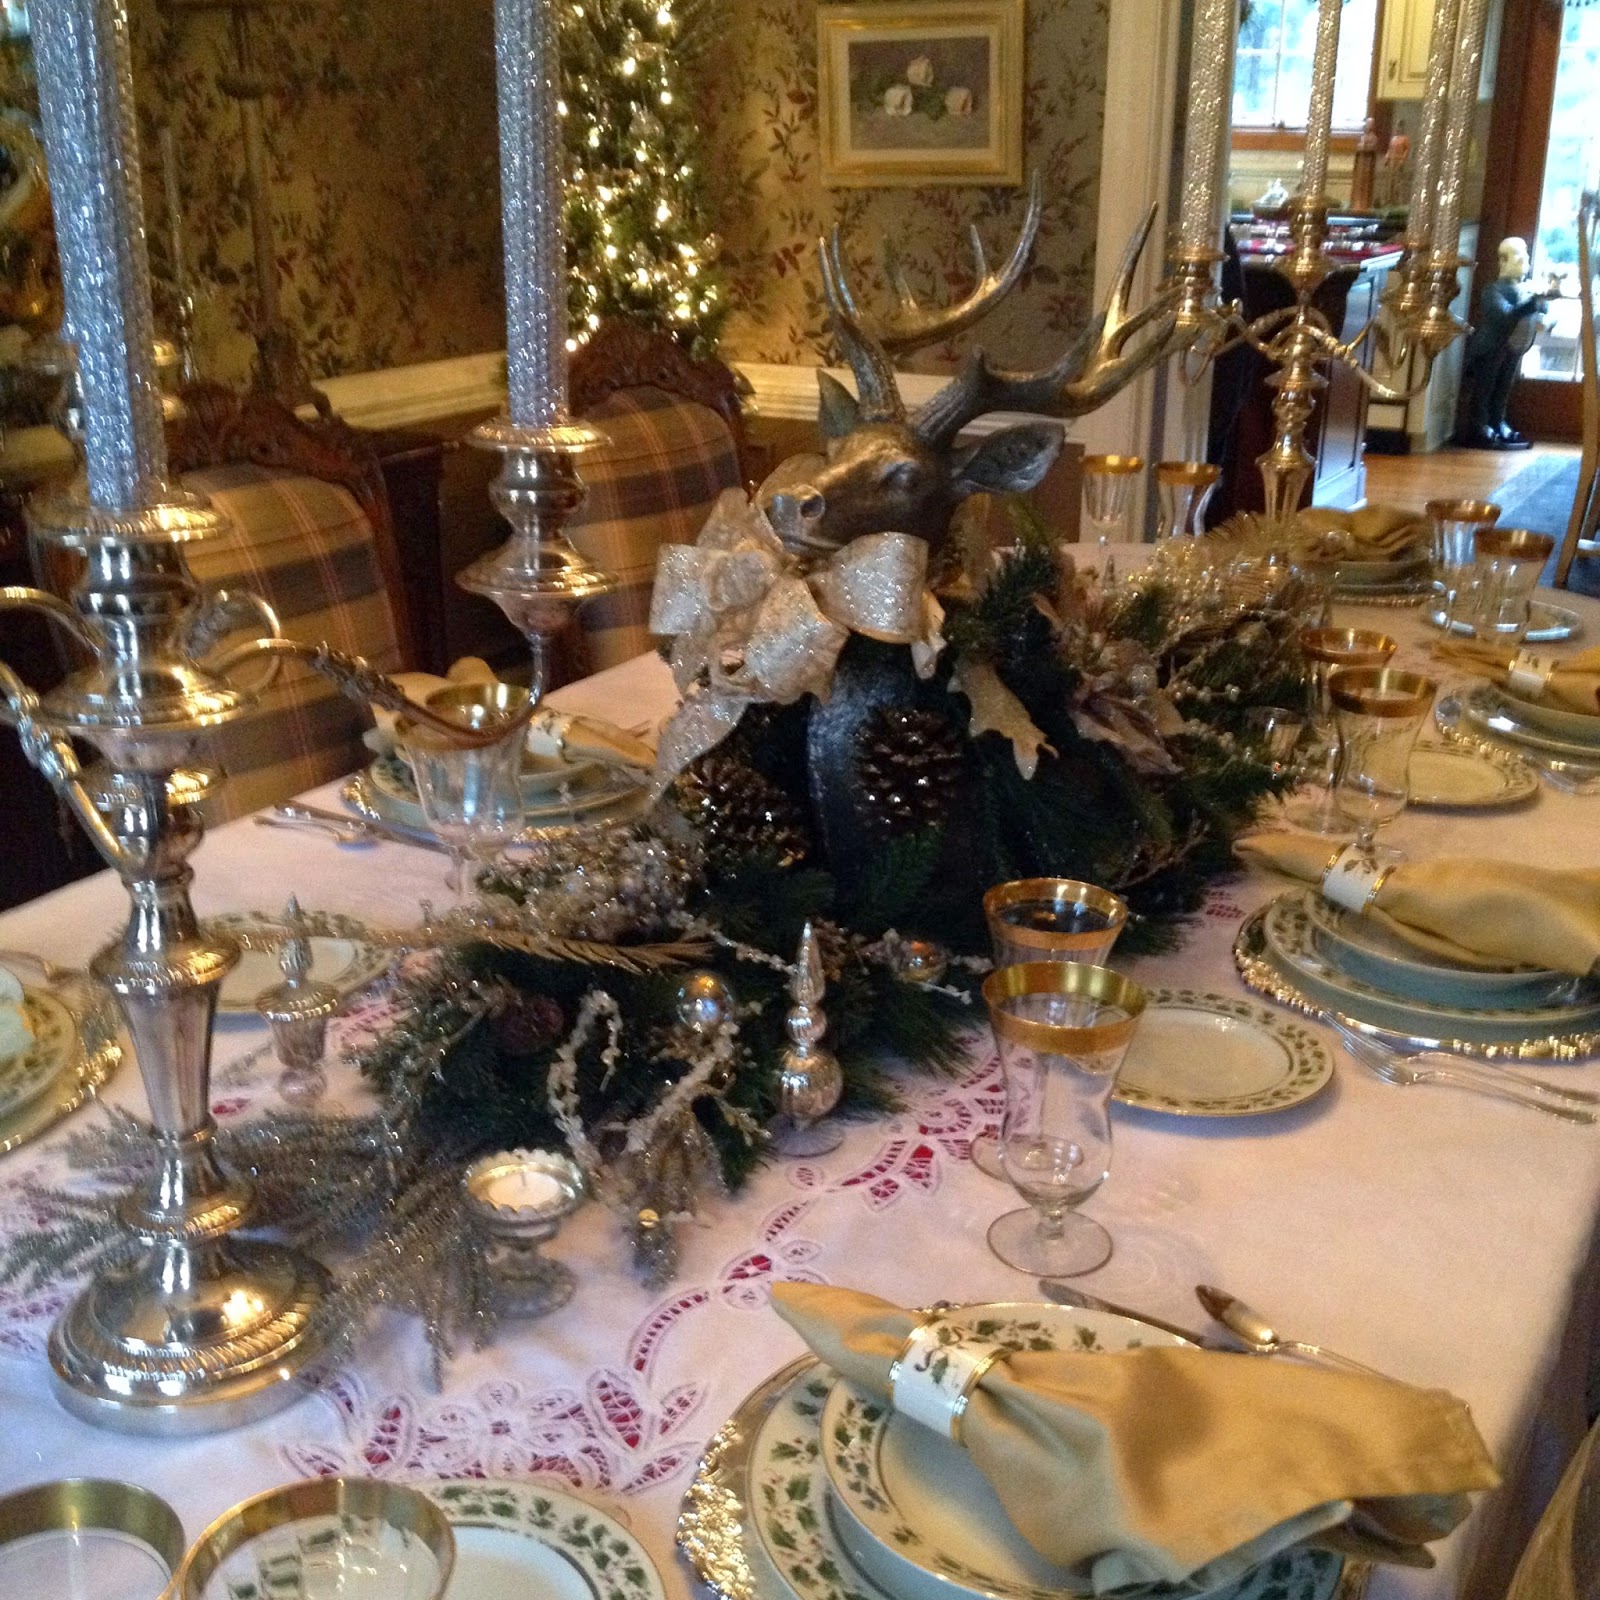
While shopping at Tuesday Morning, I ran across this reindeer. He was so regal and beautiful, I knew that he had found a home. Since I am a regular shopper at this store, the kind ladies are always looking out for me. This reindeer had a mate that came in on the next truck, and they kept it in the back for two weeks, waiting to see if I would want it. Unfortunately, I didn't come back in for awhile, and they sold it as soon as it was put out. A lesson learned, check back frequently, you never know what's on the very next truck!

I decorated this fella up using poinsettias and a bow. He sits on top of a field of decorated greenery.


I used mercury glass votives and finials that I used last year on my table, and I also added some silver and glass ball ornaments.

We ate our Christmas Eve dinner in the dining room, and my husband's brother joined us. Normally, I have 7 or 8 for Christmas Eve, but this year it was just the five of us.

I used my battenburg tablecloth again, because I can change the look by using an under-cloth, and it fits my table well with all the leaves. Since Rudolph was so big, I kept the leaves in the table for the entire season.

I also used my antique silver candlelabras with silvery candles. I special-ordered them in October, and they are nice and tall!

My gold-rimmed antique stems were used for dinner as well. For dinner we had our usual--beef tenderloin, potato casserole, broccoli casserole, romaine salad with fruit and blush wine vinaigrette, spinach squares, and hot rolls. We had drinks and appetizers in the kitchen before, which were pecan cheddar spread, shrimp cocktail, and hot crab dip. For dessert, I had a tray of goodies I had been preparing all week. No one left hungry. We did start in the afternoon, and we just kept eating and socializing into the evening!
I put up my small Christmas tree in the corner of the dining room again this year.

My husband likes to hunt. Let me re-phrase that--he likes the whole idea of hunting. He likes being outside and looking at the game and beautiful surroundings. He gets impatient, and doesn't necessarily like killing the animals. He enjoys watching them, but often just lets them go. We do have a problem with the deer population, though, and they can cause a lot of harm.

I enjoy decorating with deer at Christmas, and I use them all around the house.

I also used my Lunt flatware, and gold dinner napkins, and my Christmas china. I again used my silver chargers I lucked out and found at the local Goodwill store.

While shopping at Pottery Barn, I ran across a beautiful red velvet spread that I thought would look great on my bed at Christmas. After looking at the price tag, I thought it was a big extravagant, but I loved the look. Again, I found something similar at my local Tuesday Morning store. This coverlet is just a great red color, and I thought it went well with the gold in my bedroom. But they did not have the pillow shams. Lucky for me, the kind ladies called around until they located two for me at another store! Love those girls!!

I also did a bit of work in my son's room before he came home. We had his room painted (revere pewter, by Benjamin Moore, I think) and I did purchase this new comforter and shams at Pottery Barn.
We are headed to New York at the end of the month to help my daughter move (just to a new apartment, not home). I started a new blog--totally unrelated to tablescapes--but if you get a chance, take a peek. It's concerning helping my grown-up children with the next phase in their life while trying to help myself! It's called Seeing Stars In My Eyes.
My photography isn't the greatest, sorry about that, I have two very nice cameras and neither one of them is working. All the photos above were taken with my cell phone. Some aren't too bad, and it is convenient, but I will try to get the cameras repaired in the near future.
Thanks for stopping by! Stay warm and carry on! --Betsy
.


