Showing posts with label christmas. Show all posts

Sunday, January 10, 2016

Christmas 2015 Part 2

As another Christmas season comes and goes, here are a few photos of the kitchen and family room.  All the decorations will be down by the end of the day, boxed up and stored for another year.  Hope you enjoy!

On the kitchen island, I keep this Tiffany silver trumpet vase and change the flowers depending on the season.  It doesn't take up much room, so that I can serve or prep when needed.  If you look behind the vase, I hung snowflakes from the window valence.  I used a tension rod, and hung the snowflakes with white thread and ornament hangers.  At Christmas I use a butler's tray table in the corner to hold extra Christmas trays and wine glasses.
For Christmas morning breakfast, I again used my Christmas china, with red chargers and Lunt flatware.
For the centerpiece, I used decorated greenery and gilded fruit, silver antler candleholders, and red votive candleholders, which match the sequined red chargers.
 The centerpiece bowl is a unique piece--silver and crystal--with four taper candleholders.  It's one of my favorite estate sale finds.
For beverages, we used champagne flutes for our mimosas and vintage glasses for water or milk.
Above the patio doors, I added these love and joy signs.  They are battery operated, but I had to climb on a step stool to turn them on.
On to the family room.  On the cocktail table, I used a garland with a gold ribbon, my gold reindeer that I love, gold trees, and ...hmm are those artichokes? pineapples? acorns?  Well, whatever they are, they were used on the cocktail table vignette with gold battery operated pillar candles, which were on a timer. The candles provided a nice glow when coming into a dark room.
A shot of the family room in the evening.
The main Christmas tree was again gold and bronze.  I added some new decor this year, musical notes, large bronze snowflakes, deer heads, and lots of grapevine.
I changed up the mantle and placed my garland straight across instead of swagging (is that a word?) it.  I found these stick garland mini lights, which I added, as well as the gold pieces on the end.  Have no idea what to call them, but they were sort of a paper mache and I have ornaments shaped exactly the same way, so I had to have them.  I also used musical ribbon bows, and decorated with the same notes that I used on the tree, and cupids playing different instruments.  
Here's a close up of the decorated mantle.  Behind the garland, I used gold finials that I found years ago at Kirklands, with tall gold candleholders on each end.
 I made this little arrangement for the hearth using a lantern, greenery, and other gold/bronze accents.
 Big items have big impact, but sometimes you just need something small.  I found these petite gold Christmas trees and thought they were cute on a silver tray.
The bookcase was decorated and I again used my silhouette angels for the top.  This year I ordered votive candles on a timer so that they would come on automatically in the evening.  Yay!  No climbing up to cut them on!  Worked like a charm.
 I have used this woodland scene vignette before, but this year I moved it to the end table with my leopard lamp.

We were again blessed to have our son and daughter home.  Our son finished up at Virginia Tech in December, and is beginning the job search.  Our daughter is still in New York and is in a show called "New Dawn" at the end of the month.  If you are in the area, I hope you will go check it out.  

Christmas night we had 30 of my cousins over for a Christmas get-together!  Everyone brought an appetizer, and we had a lot of fun.  2015 was a great year, and I am very thankful for my family and friends!  On to 2016!

 Happy New Year to you and yours!

Friday, January 1, 2016

Christmas 2015

Now that the holiday season is winding down, I have a little time to work on a few posts.  I love decorating for Christmas, and this year I had a deadline.  We were going out of town for a few days on December 1st and I wanted all the decor to be up and ready to go by the time I got back.  Here's a peak into the front rooms of the house.  In my next post, I will put up the pictures of the back rooms, which include the kitchen and family room.  Hope you enjoy!

Upon entering the front door, the first decorated tree stands in a fishbowl nestled in a corner by the stairs. The white ornaments were made by my mother, and this year I added different sized snowflakes and a white topper.  White mini lights were added to the banister, and I had them on a chaser setting, which made the room feel magical.
Santa and two white glittery reindeer sit under the tree.
My silver neo-classical vase holds a new silver and white Christmas arrangement.  The silver and gold deer are also new additions to this table vignette.
The stairs are always fun to decorate, and new white, wispy pine garland was added this year.
I added a swag over the inside front door.
Now on to the living room, which we refer to as the paaarlor, darling!
I found this great nativity which I placed on the console with my white angels and some greenery.
Here's a close-up...
On the bombay chest, I used my sleigh decorated with white ornaments, crystal grapes, and greenery.
It was fun decorating the dining room this year.  I used mostly silver, with a hint of red under the white tablecloth.  I again used my deer from Tuesday morning, my candelabras with silver glitzy candles, and various decor on the table.
I also put a full-sized tree in the corner.  I have been using a smaller tree, but decided to use this one.  It had a more formal look, with some burgundy-colored balls added in with the silver and crystal.
Our Christmas Eve dinner table was set for nine, but one cancelled, so I removed one place setting.  Before dinner, I removed the deer and the candelabras, as they were blocking our view, and I added a fresh arrangement using mostly greenery and berries from my yard with white carnations.
The fresh arrangement sat on my new tea cart before dinner.
I used white napkins trimmed in silver with a shimmery napkin ring, my Lunt sterling, and mirrored chargers. I used Opal Innocence china.
Wine glasses used were Navarre, and iced beverage glasses were crystal with a silver rim, not sure what they are.
A different angle...
And just a few items placed here and there.  Although it's hard to see, I added those mini lights around the decanters, which looked pretty reflecting in the silver tray at night.  When I purchase these, I now look for ones with timers, that will come on at the same time every evening and cut off after 4 or 6 hours.
I also used a vintage-style light around the base of my reindeer.  I used battery-operated votives this year on his antlers, because the dripping wax is not fun to clean.  You can purchase votives now that have timers as well.  Yay!!

I think that's enough for now!  Please come back and take a look at the kitchen and dining room decor. Have a safe, healthy, and happy New Year!!
--Betsy


Wednesday, January 8, 2014

No Skimpy Garland

Skimpy garland is not something I'm fond of.  I am also not fond of paying huge amounts of money for nice, thick luxurious looking garland.  So I decided to make my own.  I am aware that most people have moved on, and are thinking of spring, but if I don't record this now, I probably won't get to it or remember to do it next year! 

Start by looking for the fullest, long-needle garland you can find at a reasonable price.  I purchased mine at AC Moore for $19.99 for a 9' piece.  I bought 5 pieces for my outside decorations, 2 for my mantle, and 1 to cut up and use in wreaths and for other decorations. 
Start by opening up the garland and lying it on a flat surface.  I was fortunate that my friend allowed me to work in her interior decorating shop.
Take a cheaper garland, I used some I already had from previous years, and lie it in the center and on top of  the long-needle garland, opening it up and fluffing needles as you go. At this point, I also went ahead and put on white lights.  I used a strand of 100 lights for each 9' piece of garland.  Make sure you test them ahead of time!
I used cable ties to secure the two garlands together.  I secured the garlands underneath the lights, just in case I had to remove the lights--you know how they can be working one minute and out the next.  
These zip ties worked like a charm.  You just put them through, pull them tight, and cut off the excess.  No tying or twisting necessary!
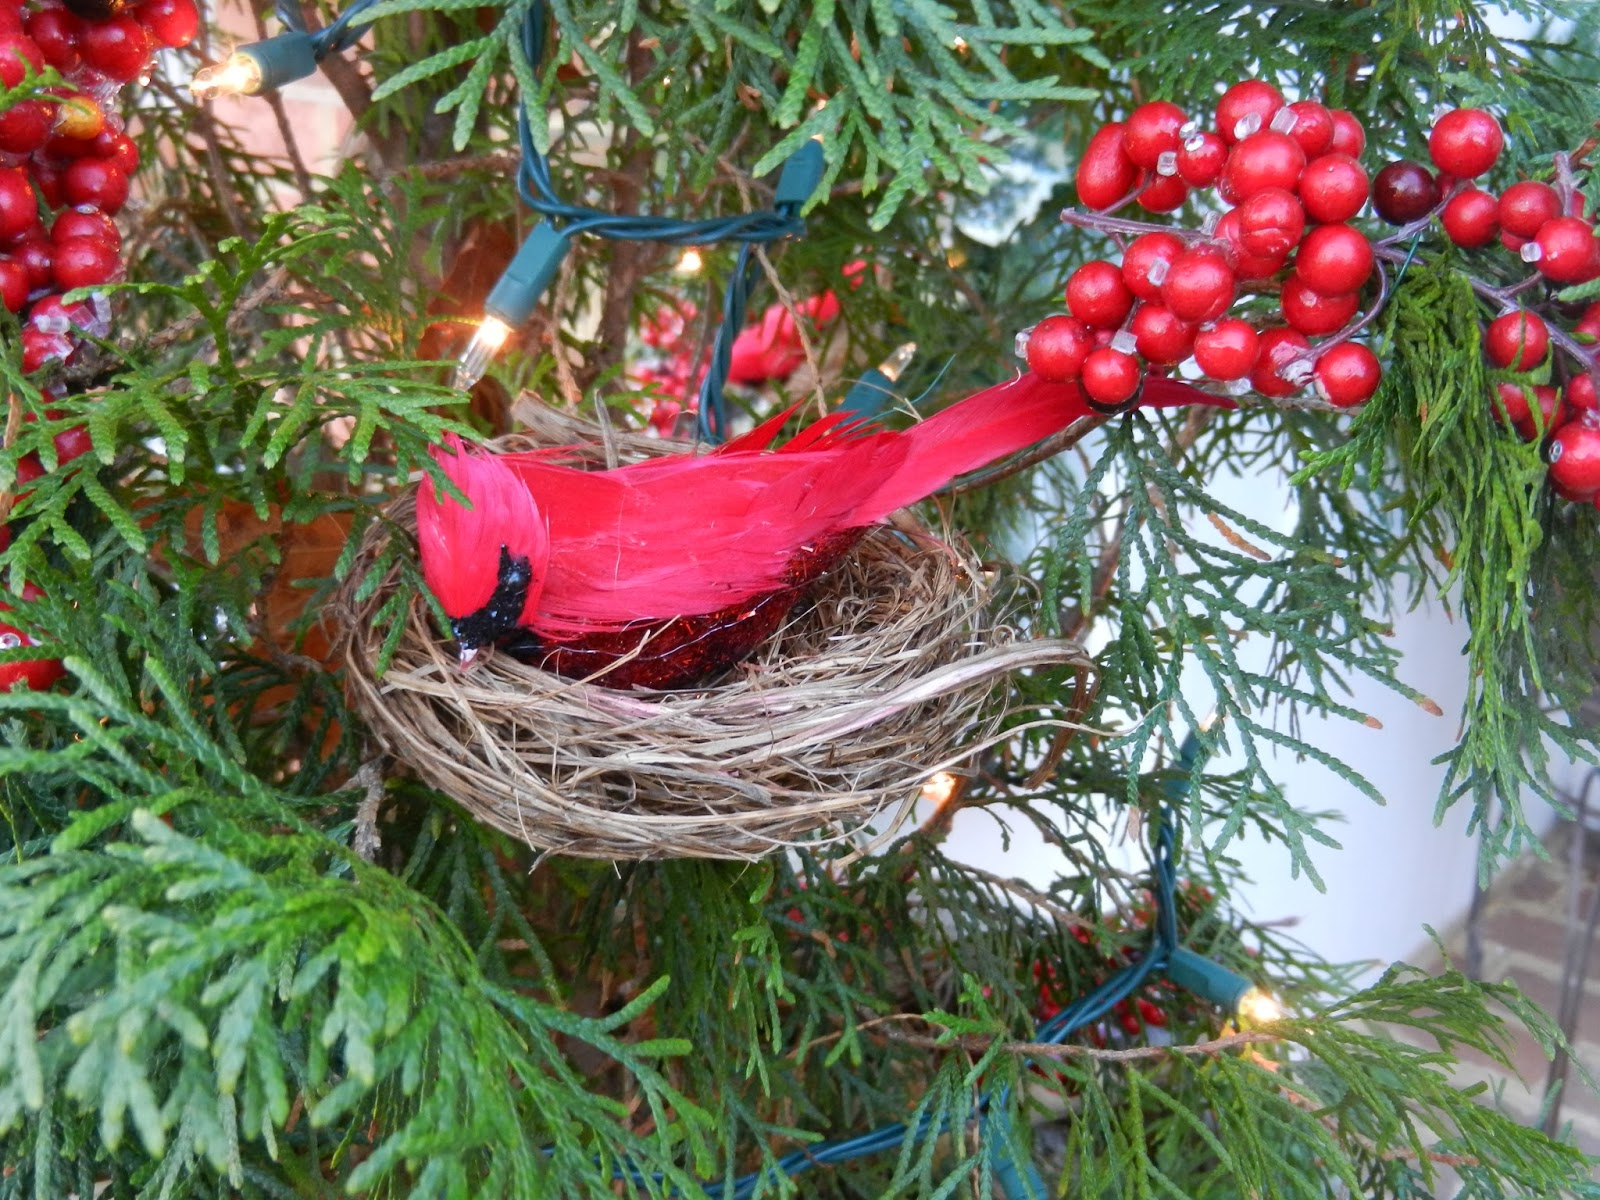
Here is a closeup of the garlands being secured.  The zip ties went under the lights just in case I had light issues.  At this point, you are ready to decorate your garland with your desired decorations.  I don't have pictures of the steps, but I just placed the decorations on first where I thought they looked good, and hot-glued them on.  I used iced holly, iced berries, pine cones, and red birds in nests.  I also used some of the extra garland to make a centerpiece, and tied on a red bow.  Here's how it looked when it was all done!
No skimpy garland!  I also matched the wreath to the decorations on the garland to give it a custom look.  The ribbon on the light fixtures matches the ribbon on the wreath.
On the centerpiece, I added three ornaments that matched the ones on the wreath, a red bow, and pieces of holly.
 The centerpiece is totally separate, I just hooked it on after putting up the garland.
 I also used garland on the rails.
I added berries, holly, and birds to my live trees in the pots, along with white lights.
The wreath is loaded with iced berries, holly, birds, iced branches, pine cones, and red ribbon.  Red shows up well on my wooden door.
I found this little metal deer at an estate sale and brought him home.  I used fresh greenery from my backyard and a faux candle, which came on automatically in the evening thanks to the timer!
The little birds in nests were added after I put the garland up, so I could space them properly.
 I also used three spotlights.
In one of those home catalogs, their garland costs $70.00 for a 9' piece.  I think mine looks just as good, and it was much cheaper!
Hope this helps next year, ha!!

Stay warm, thanks for visiting!